
前回の記事の続きになります。
背景を塗る
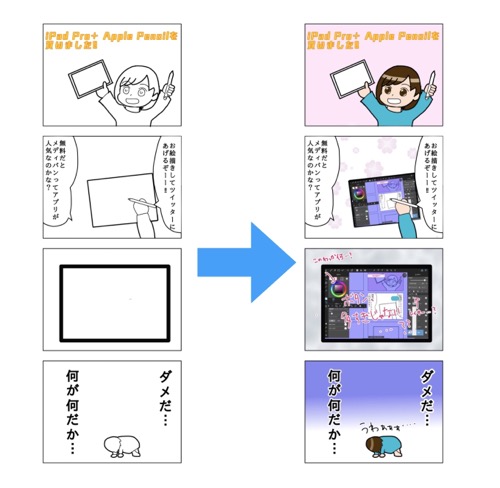
この記事では、塗りつぶし背景、カラートーン背景、グラデーション背景の描き方を説明します。
単色塗りつぶし背景の塗り方
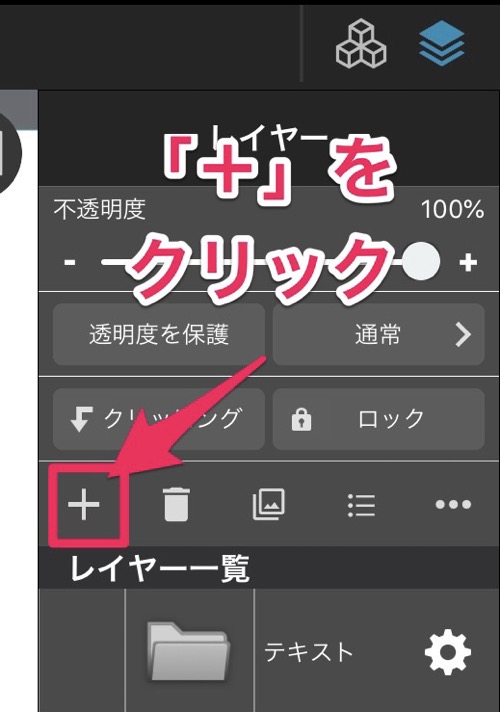
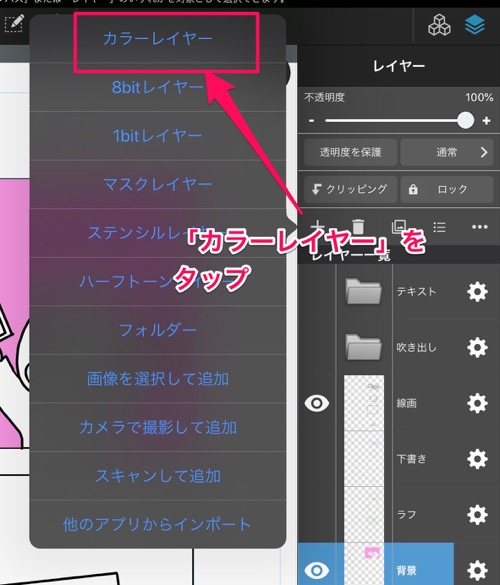
背景レイヤーを作成する
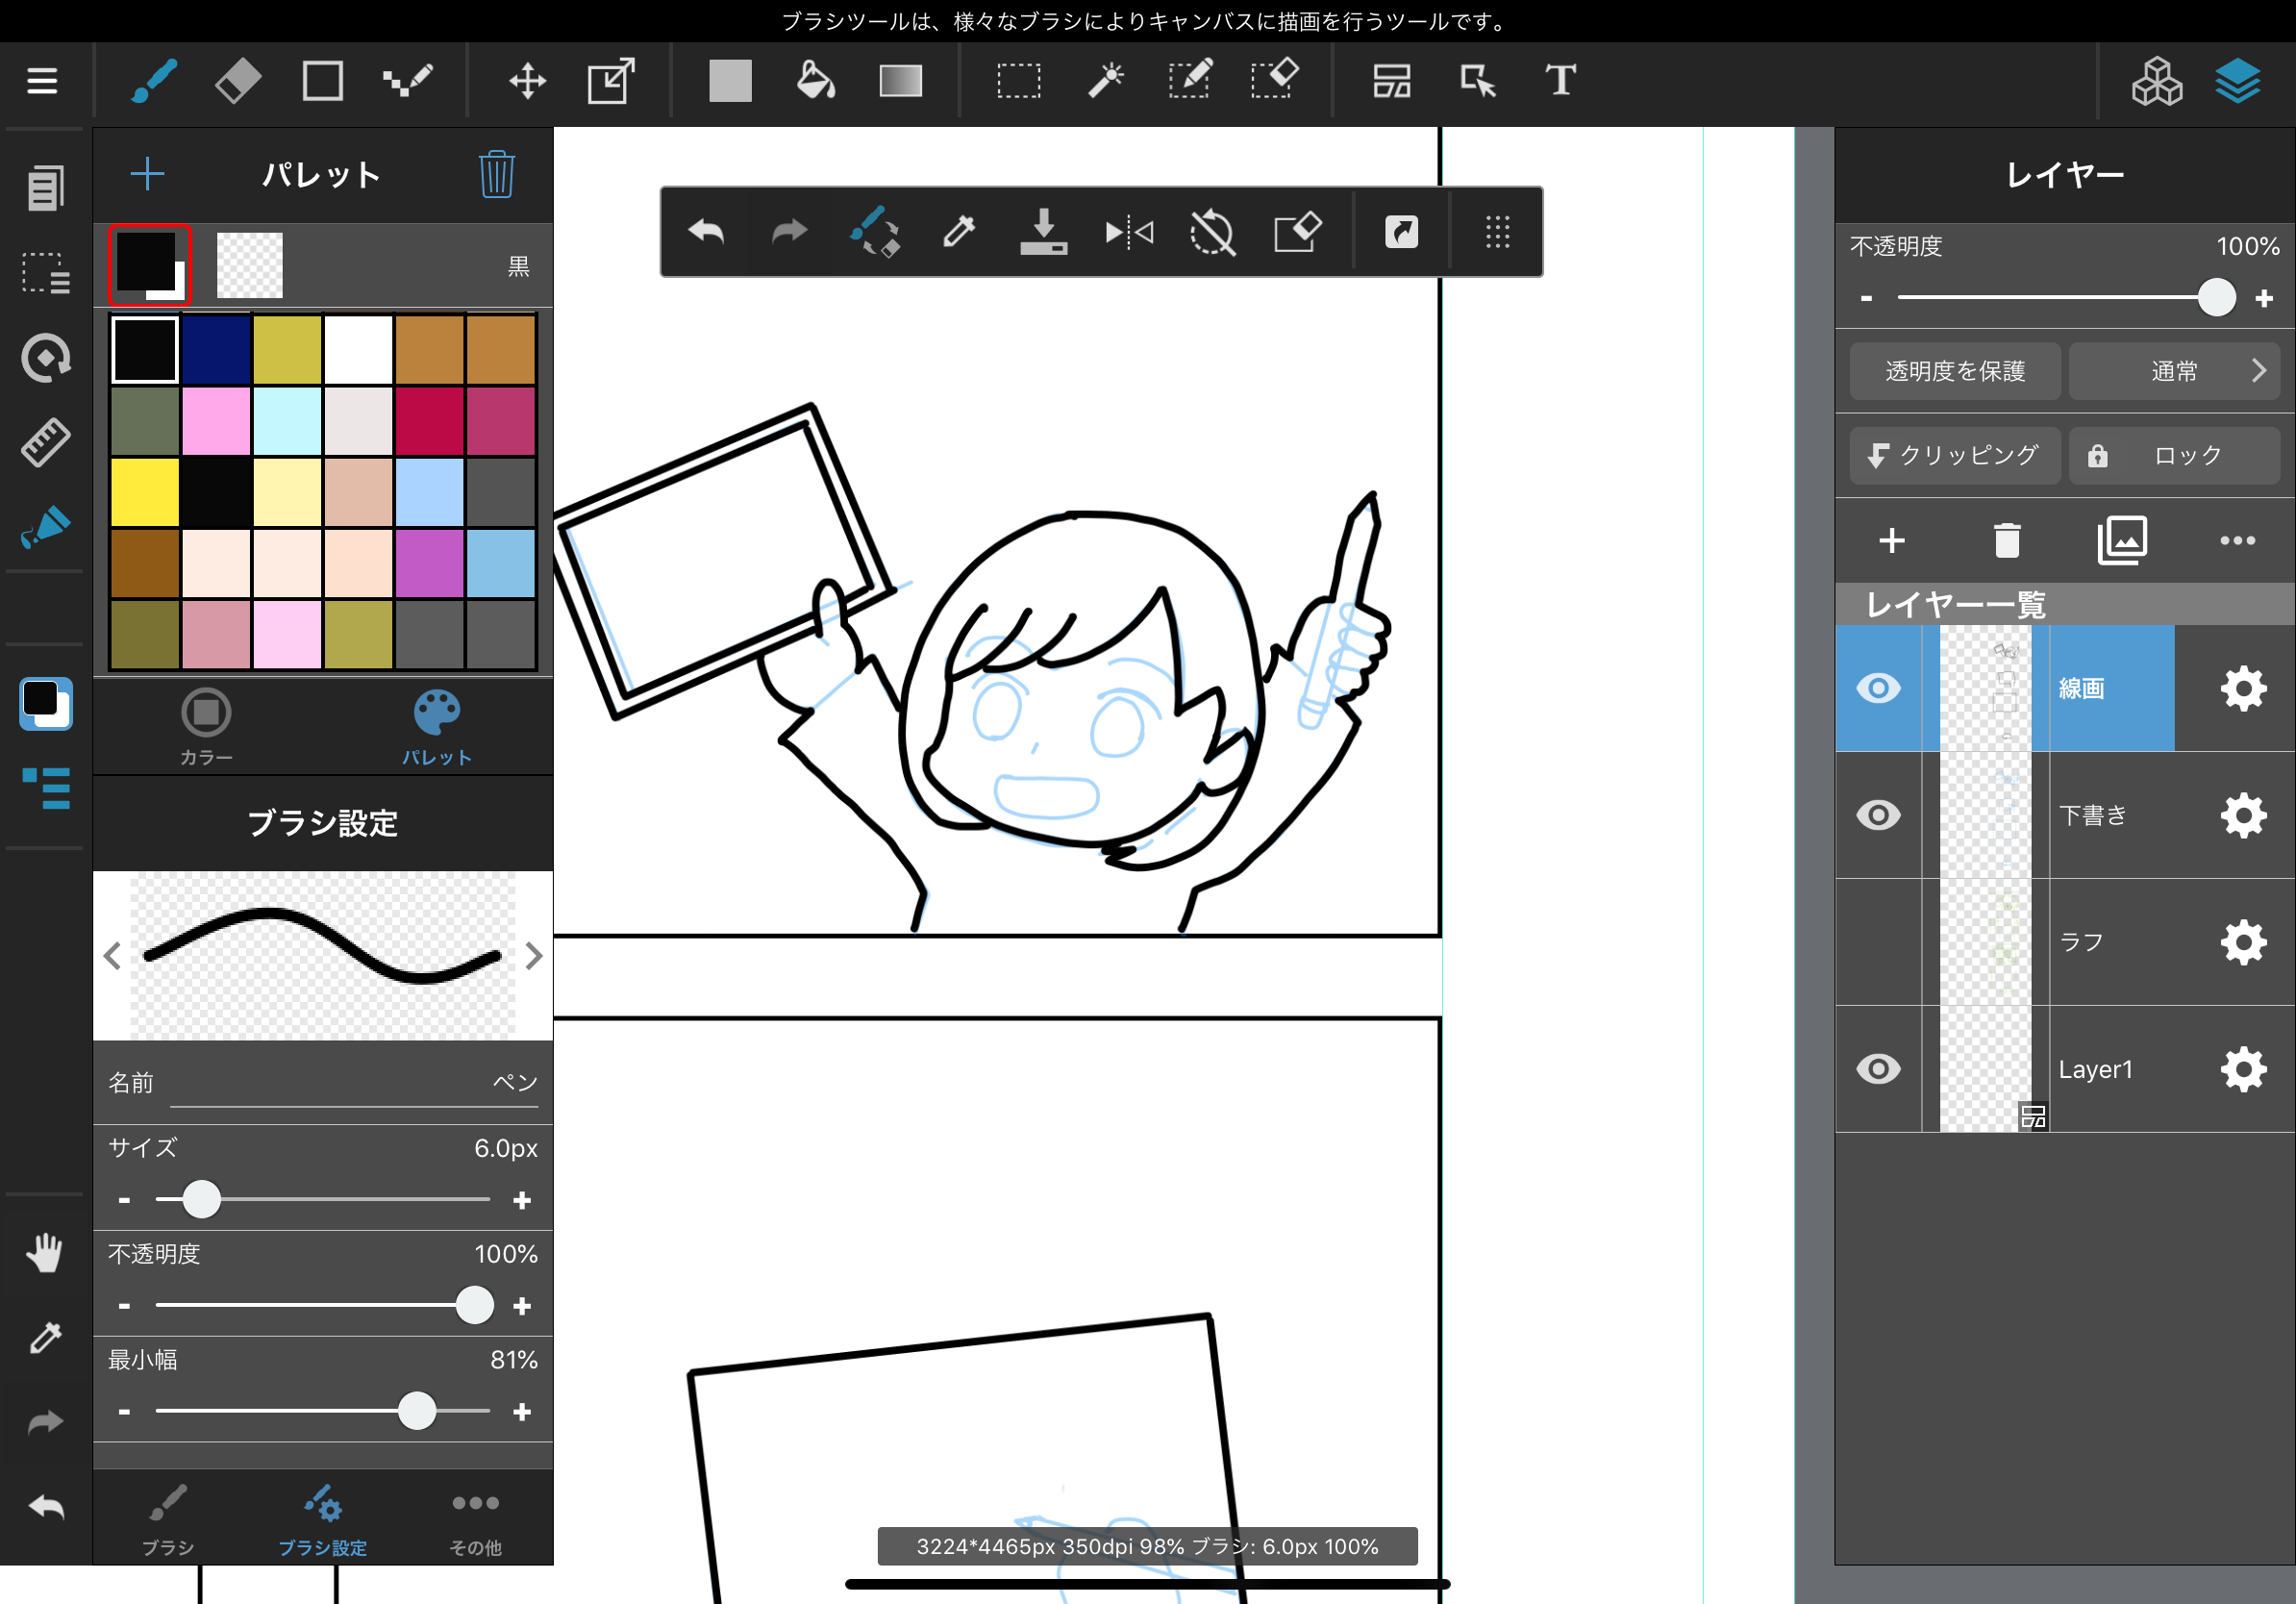
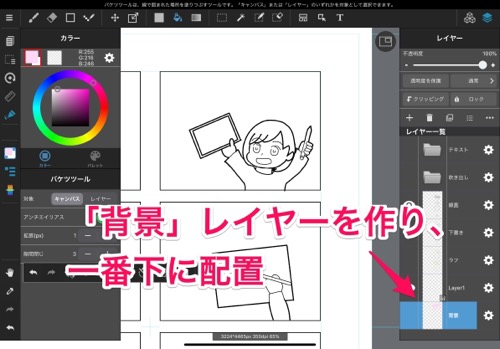
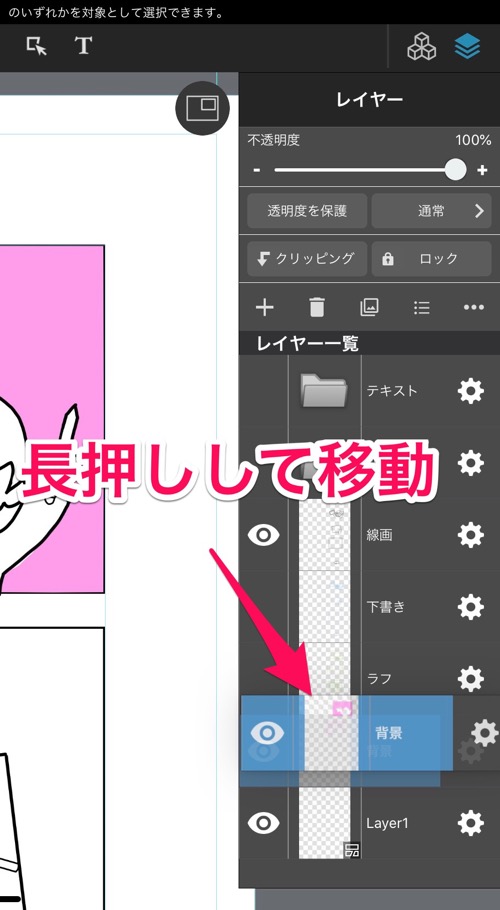
背景を塗るためのレイヤーを作り、一番下に配置します。
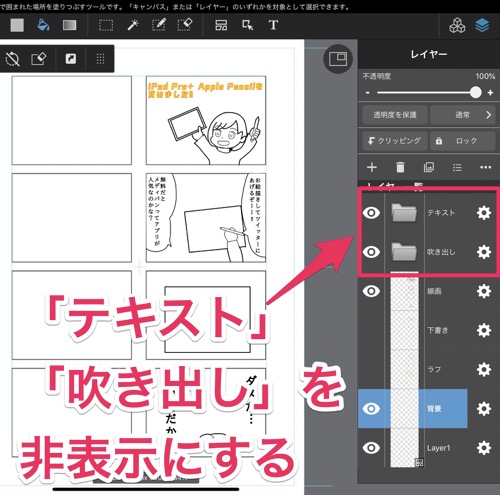
テキスト、吹き出しを非表示にする
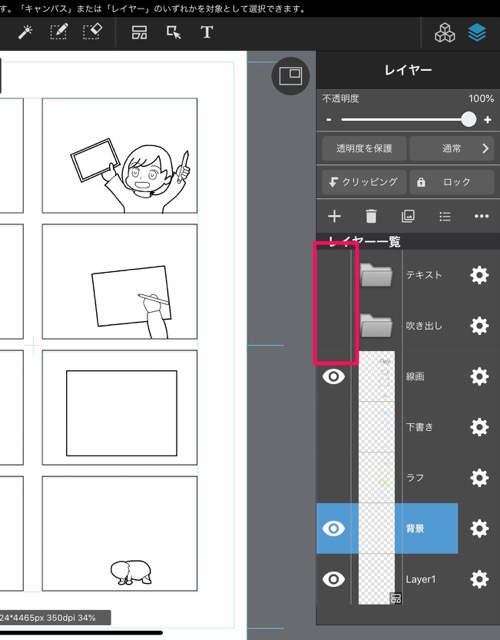
目玉の部分をタップして「テキスト」レイヤーと「吹き出し」レイヤーを非表示にします。
右のような画面になります。
「塗りつぶし」ツール等で背景を塗りつぶす
「背景」レイヤーを選択した状態で、バケツツールで背景を塗りつぶします。
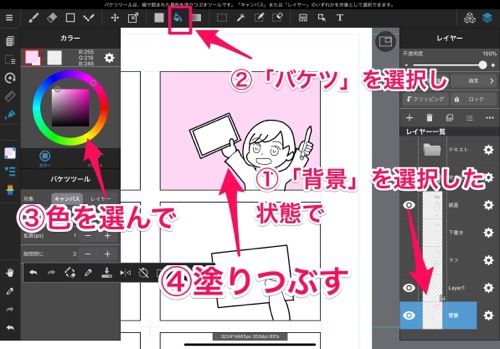
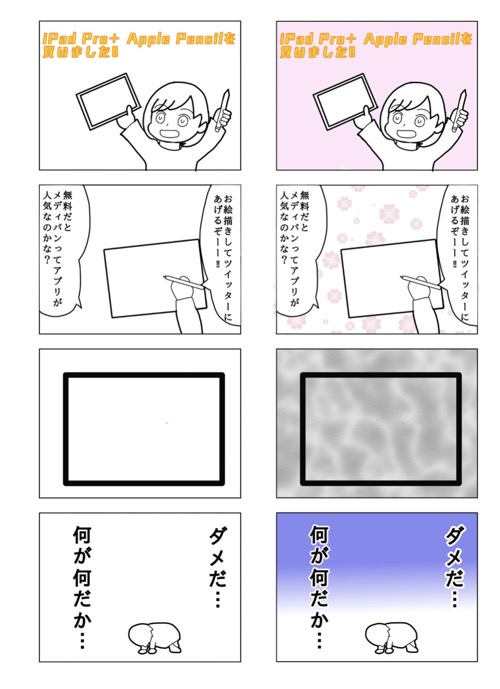
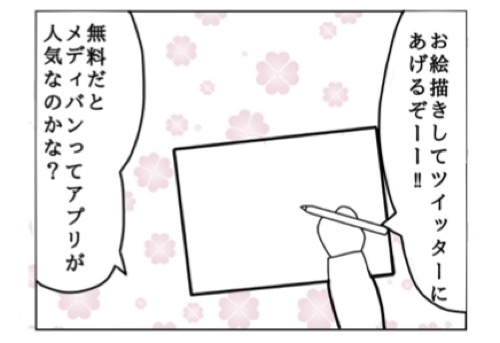
単色の背景ならこれで終わりです!
カラートーン背景の描き方
こんな感じのカラートーンを貼る方法です。
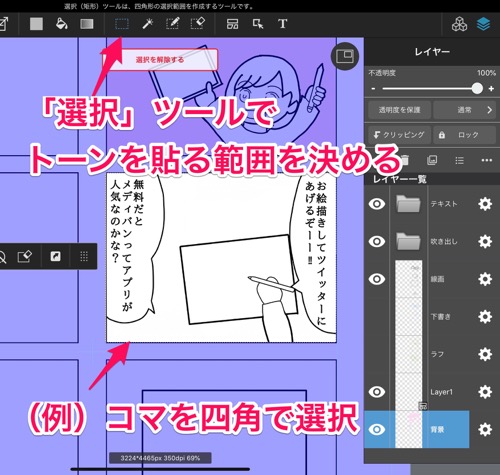
「選択」ツールでトーンを貼る範囲を決める
トーンを貼る範囲を決めます。例では四角の選択範囲ツールで1コマを選択しています。
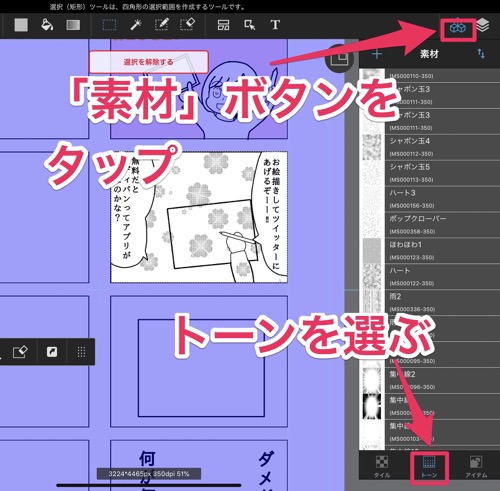
トーンを選んで貼る
右上の四角が3つ並んだようなアイコンのボタン(素材ボタン)をタップします。
右下に「タイル」「トーン」「アイテム」とあるのでその中から「トーン」をタップします。
トーン(素材)のダウンロード方法
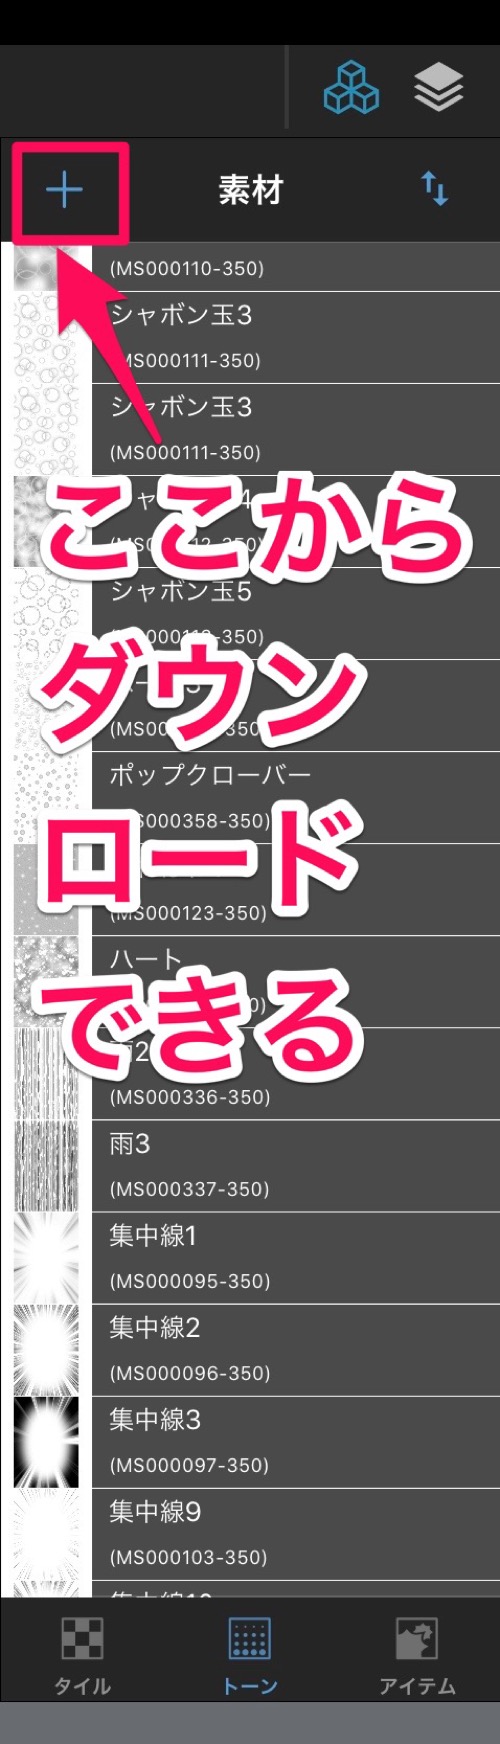
左上の「+」ボタンで素材をダウンロードできます。
トーンの大きさ、回転画角を調整する
トーンを選ぶと、大きさや回転方向を調節する画面になります。

スライダーで調節していきます。
調節が終わったら、右上の「完了」をタップします。
「選択を解除する」をタップします。
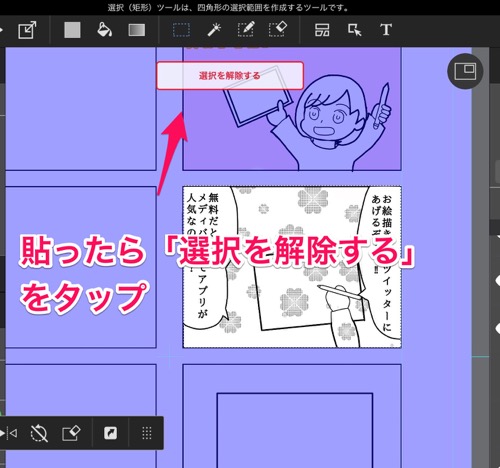
これで、白黒のトーンが貼れました!
トーンに色をつける
次は、トーンに色を付けていきます。
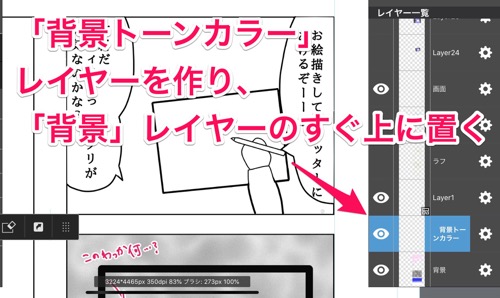
「背景トーンカラー」レイヤーを作る
背景に色をつけるためのレイヤーを作ります。
「背景トーンカラー」という名前のレイヤーを作り、「背景」レイヤーのすぐ上に配置します。
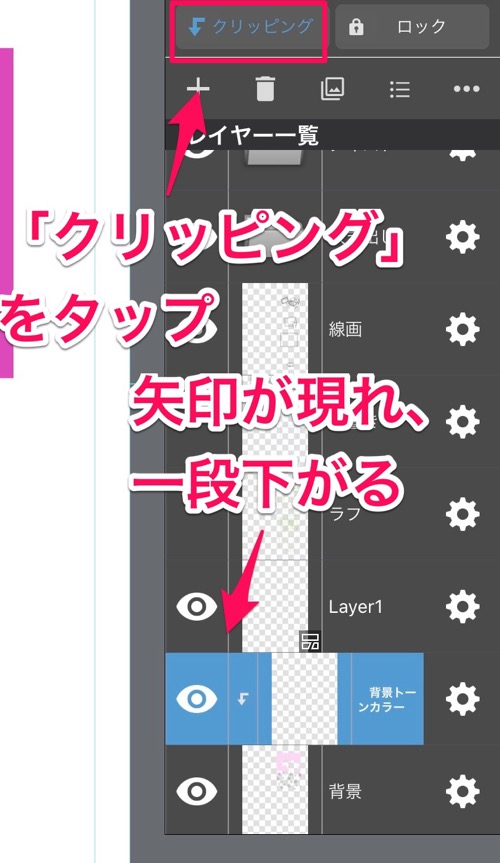
「背景」レイヤーにクリッピング
「背景トーンカラー」レイヤーを「背景」レイヤーにクリッピングします。
 管理人みゆき
よくわからなくてもひとまずこの手順通り進んでみてください
「背景トーンカラー」レイヤーを選択し、「クリッピング」をタップします。
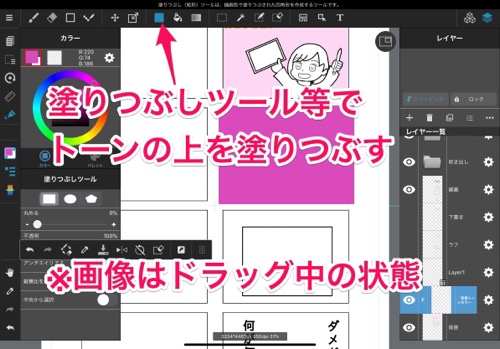
トーンの上を塗りつぶす
「背景トーンカラー」レイヤーを選択した状態で、トーンの上を塗っていきます。
はみ出すことは考えずに塗りつぶしていきます。
下のように、ベタ塗り四角形で塗りつぶすとトーンのところだけ色がつきます。
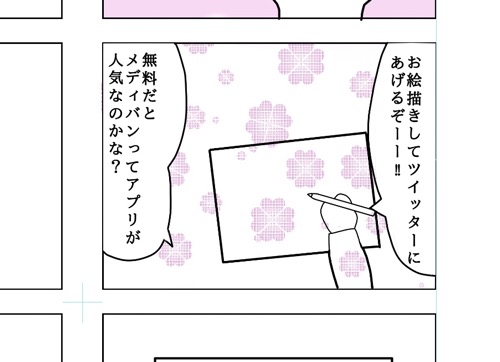
消しゴムで調整
「背景」レイヤーを選択し、トーンのはみ出しを消しゴムで消していきます。
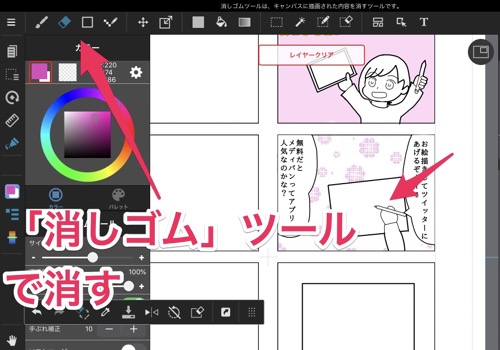
これで、カラートーンが貼れました!
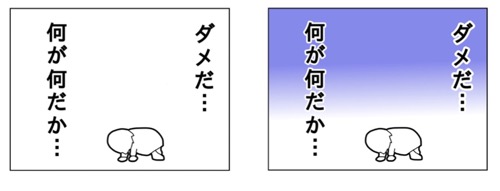
グラデーション背景の描き方
グラデーション背景の描き方です。
「テキスト」「吹き出し」レイヤーを非表示にする
単色塗りの背景と同様、「テキストレイヤー」「吹き出しレイヤー」を非表示にしておきます。
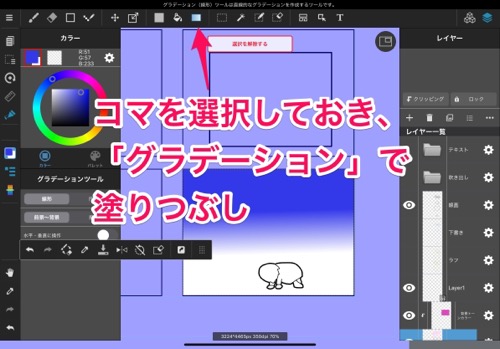
選択範囲ツールでコマを選択し、塗りつぶす
単色背景の時と同様「四角形選択ツール」でコマを選択後、「グラデーションツール」で塗りつぶします。
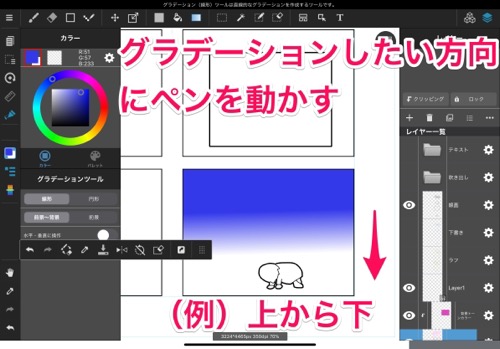
グラデーションの手前色を青、背景色を白に設定し、ペンを上から下に動かすとこのようなグラデーションになります。
まとめ
塗りつぶし背景、カラートーン背景、グラデーション背景が描けるようになりました。次の記事では人物や写真の貼り方を説明します。